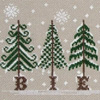
Stitching isolated cross stitches and snowflakes
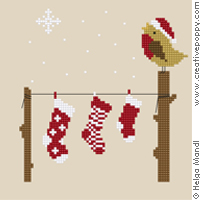 Designers love Winter and snow patterns. They're a lot of fun and bring back many of good memories.
Stitching snowflakes however can be rather tricky. Here are some suggestions to help you make the most of any snowflakes you want to stitch:
- how to stitch isolated stitches
- how to make your snowflakes nice and plump
You might have some more tips to share, let us know!
How do you stitch "isolated" snowflake stitches?
Method1: carrying your thread
The easiest method is to carry over your floss on the back, from one snowflake to another. This is not the method favoured by experienced stitchers but it can do the job.
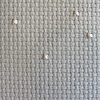 |  | You have to make sure though that the thread will not show though the fabric once you mount your finished piece. If the fabric is rather thick (such as Aida) and the floss is a similar color, it can do the trick.
Also, work these isolated stitches at the very last minute because you don't want other parts of your stitching to become tangled with the thread running on the back of your piece. |
Right side | Wrong side with thread carried over from stitch to stitch |
Method 2: completing and isolated stitch
Many stitchers avoid carrying their floss at the back for the reasons explained above. When there are several stitches in an area, it's easy to start and finish your stitches but when there's only one, what do you do to start and stop?
If you are normally stitching with two strands we suggest you only use one strand
and complete the stitch in two goes:
- / then X
- and again / and X over your previous stitch.
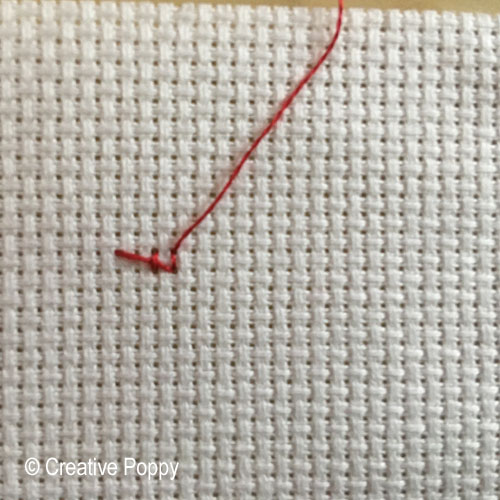
Start the stitch using the "Waste knot" method, so that the tail of your thread is secured.
In spite of its name, you don't have to make a knot.
Simply start from the front 2 stitches to the right of your isolated stitch, leaving an inch of thread on the right side. That way, the tail of your thread is positioned so it will automatically be secured under that stitch.
Right side of the fabric|
|
|
 | 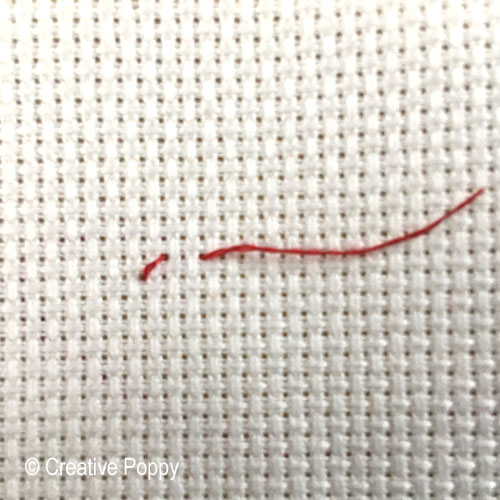 | 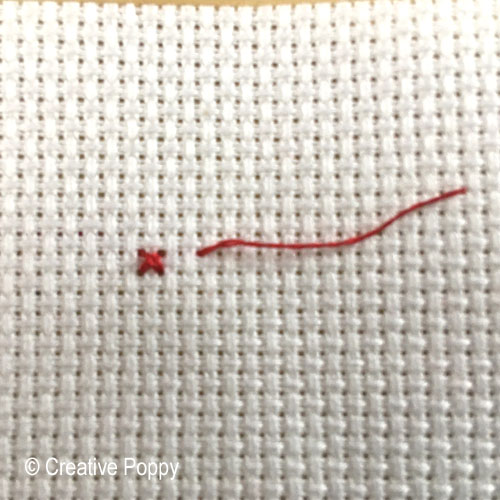 |
Starting 2 stitches to the right of the isolated stitch | Half stitch completed in 1 strand | Isolated cross stitch completed |
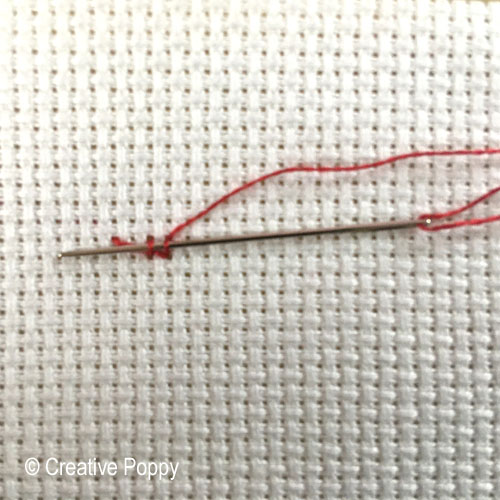
Now look at the wrong side of the fabric: it will show two vertical bars I I
- slip the end of your thread under the two bars
Wrong side of the fabric|
| 
| 
|
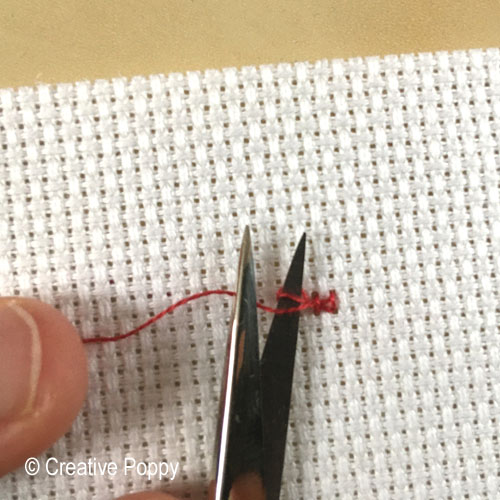
Wrong side of fabric showing the start of the thread secured by the waste knot method | Securing the tail of the thread under the two vertical bars of the isolated cross stitch | Trimming both tails |
How do you make nice and plump snowflakes?
You will want your snowflakes to stand out nice and puffy on the background fabric, here are some more tips
 Tip1: use 3 instead of two strands
Many fabrics will let you use 3 strands instead of 2, especially if your cross stitch is not surrounded by other cross stitches. 14ct Aida can usually be stitched using 3 strands and many evenweaves and linen fabrics are loose enough to accomodate thicker thread.
This can be usuful even for other cases of snow (such as snow on a branch), to give that part of the stitching additional texture
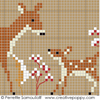
Perrette Samouiloff - Mother and baby animals in Winter
 Tip2: use a tiny Smyrna stitch
Works on evenweave and linen fabric.
Use one strand, complete one cross stitch "x" one vertical cross "+" and again one cross stitch "x". Watch how puffy your snowflake has become!
 Tip3: keep enough contrast with your background fabric
More generally, make sure you background fabric has enough contrast with your lighter colors. We suggest you test a few stitches first before going ahead with your project. You might want to use a slightly darker background fabric if the design relies dominantly on light colors such as snow.
 Tip4: add glitz!
Use iridescent thread such as DMC's light effect - Pearlescent White E5200 or Blue E3747
The contrast between the matte linen fabric and the iridescent white is quite stunning!
DMC's light effect - Pearlescent White E5200
Well this is all for now.
We hope these suggestion will trigger even more creative ideas and that you will have lots of fun stitching all those beautiful snowflakes. Send us some pictures and feedback if you can!
Below are a couple of patterns featuring snowflakes. For a complete selection,
>> see all Christmas patterns
>> see all Winter patterns


")
")
")
")
 (cross stitch chart)")
 zoom 1 (cross stitch chart)")
")
")
")
")
")
")
")
")
")
")

")
")
")
")
 (zoom1)")
")
")
")
")

")

")
")
 (zoom1)")

")
.jpg)


