Cross stitch frame finishing tutorial
A cute and simple, no-fuss way of displaying your cross stitch.
Uses plastic instead of cardboard for extra stiffness and durability.
A tutorial by GERA! designed by Kyoko Maruoka.

 SUPPLIES:
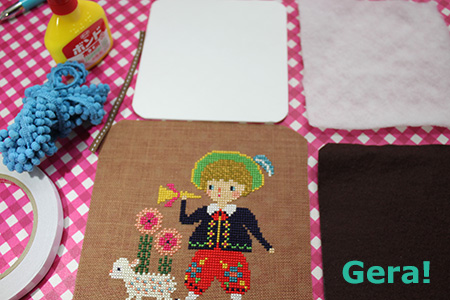
- stitched piece
- felt
- plastic board
- cotton quilt batting
- trimming (for sides) such as pom pom fringe
- ribbon (for top bow)
- sewing thread
- glue
- double sided tape
Note: you can use cardboard instead of a plastic board but it will be less stiff and less resistant to moisture.
The plastic board, felt and cotton are cut into the desired finished size and shape (here a rounded square).
The stitched piece is cut leaving an extra 1.5cm seam allowance all around.
ASSEMBLY:
 | 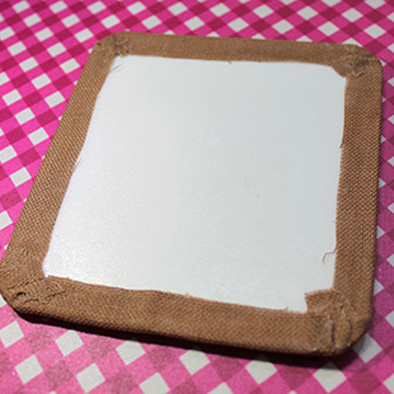 |
1. Paste the quilt batting onto the plastic board. | 2. Position the stitched piece over the quilted side. Fold and glue the remaining fabric on the back, making small incisions in the corners, so as to shape the curve. |
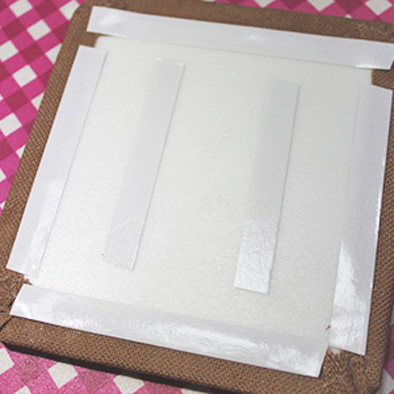 | 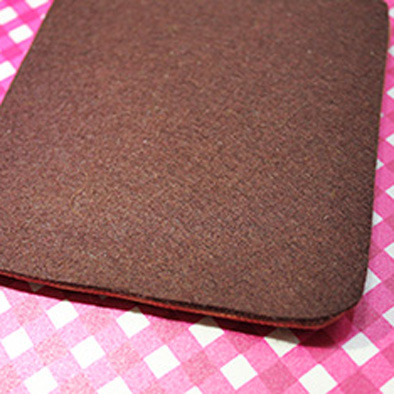 |
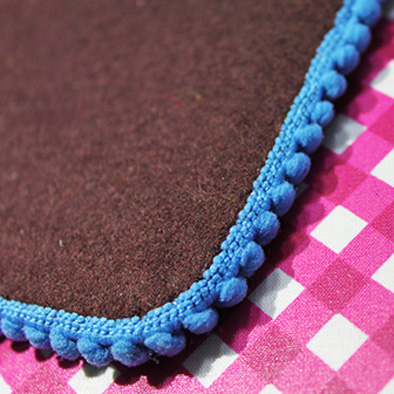
3. Fix double-sided tape to the plastic board. | 4. Stick the felt onto the back. |
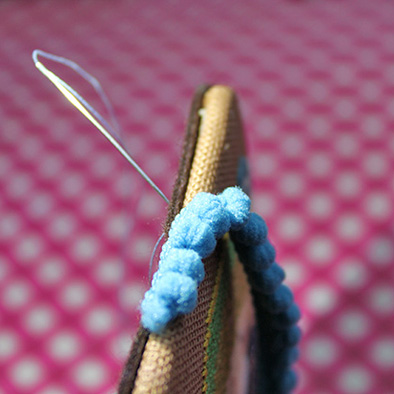 |  |
5. Stitch the trimming onto the frame, starting from the top center. Slip both ends of trimming inside to avoid fraying. | Optional: At this stage, you can sew a cord at the back for hanging the frame. |
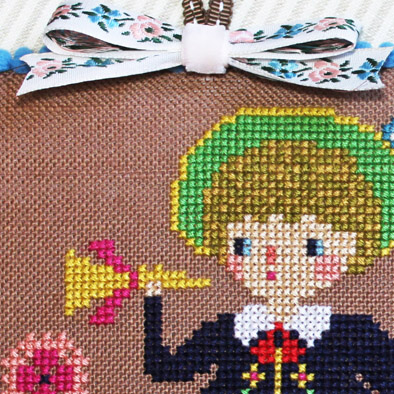 | 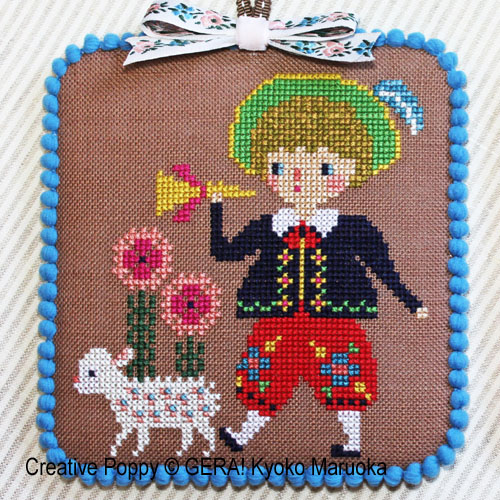 |
6. Fix the decorative ribbon bow. | You're done! |
A tutorial by GERA! designed by Kyoko Maruoka.
>> Little Bo Peep cross stitch pattern by GERA!
>> see all tutorials


.jpg)


